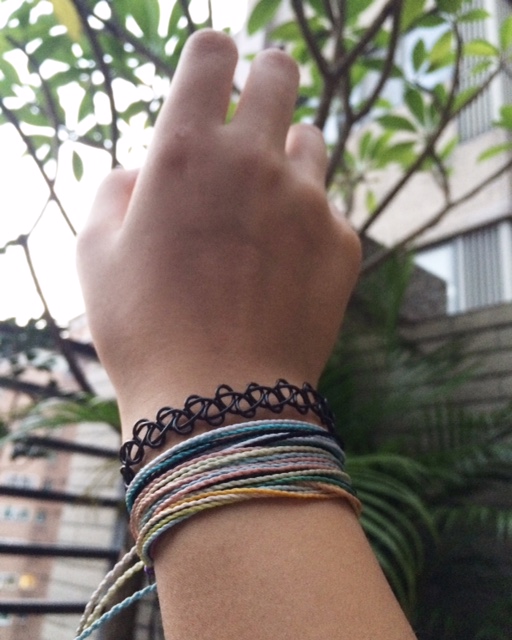
a little break from all the travel posts :P here's a tutorial since i havent posted one in a loooooooooong time.
materials:
-sissors
-elastic stretch chord (i used the brand stretch magic)
-lighter to seal edges
-tape (or a table leg to secure the top of the choker when you're braiding)
the chord come is different colors
this tutorial is seriously so easy--the important thing is you have to get the right chord. make sure the chord is stretchy, and durable enough. i found a pack from stretch magic that has 4 different colors.
im demonstrating with orange because it is easier to see, but you can use another color if you wish.
step 1: measure the chord with ur hands outstretched (whole arm span) and cut the chord. fold the chord in half then tape it down.
step 2: this is where things get a little tricky. i did a few braids first before demonstrating so it make more sense. take one end of the string form a '4' by crossing it over the other string.
pull the end of the original string and thread it through the opening of the '4,' making sure not to pull too tight.
if done right, the braid should look like this! you then keep alternating between the two strands until it becomes long enough.
step 4: you can tie the ends of your choker, but i prefer to melt it together, as it is more secure. i didn't take pictures of the sealing of the choker, mainly because i didn't want to burn myself.
the result is a lovely choker necklace (and in my case bracelet)!
it looks pretty cool and really unique
you can even experiment with more colors and styles!
i actually posted the last picture on my new fashion instagram acc...don't forget to check it out! it is linked on the left hand side bar!


No comments:
Post a Comment